)
Today there are a few Paid and unpaid tools to create HTML 5 Animated ads that are available on the internet, naming them, Adobe Animate CC, Adobe After Effects, BannerSnack, and so on but nothing compares to Google Web Designer, in this post, we will try to understand the anatomy of Google Web Designer.
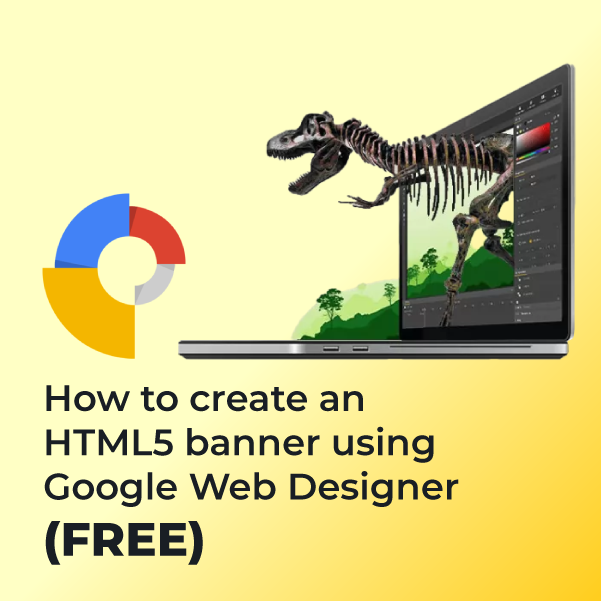
Google Web Designer is an interactive software on which you can create engaging, interactive HTML5-based designs, motion graphics, websites and banner ads. It is a standalone software available for free on Windows, Mac, and Linux.

I’ve been creating HTML5 banners for more than 5 years. The reason why my clients request HTML5 banners instead of GIFs is because of the file size and implementation of the URL and Tagging. Google Web Designers allow you to add URLs and tagging inside the banner.
1. Download & Install
It’s really easy to download and install the Google Web Designer app. Simply follow the steps below and return to our tutorial.
- First, you need to visit Google’s official project page
- Then press the download link
- Select the appropriate folder on your local environment
- Open the downloaded file and follow the steps
2. Create a New File
Open the software and create a New Project by selecting the “CREATE A NEW FILE” option. On the next screen, give your project a name, like “Demo-01” and select the desired local folder on which your project will be saved. Next, on the “Environment” section, select “Non-Google Ad” and select 300x250px on the “Dimensions” option. Lastly, select a quick mode on the “Animation” type section. You can also select different values, according to your own needs. When you finish click OK.

3. Import Asset
Now, we need to import our image. Remember to prepare most of your assets first before you start animating the banner. To do so, click “File > Import Assets” or Cntrl+Shift+I, and select your file. Once the image is placed, change its size (if you cannot resize your photo with your mouse, then click the checkbox on the top toolbox “Transform Control” and retry) to better fit on our canvas. Remember to hold the Shift Key on your keyboard while resizing to keep the correct aspect ratio of the photo. To get more tutorials, you can find useful information on how to do it here.

4. Arrange the assets
Once your photo is in place select the “Text Tool” from the vertical toolbox on the left. Click anywhere on the canvas and type your message.
Once you type your text, select the “Selection Tool” from the same vertical toolbox (first choice) by selecting the text you just wrote. While selected, click the option “Text” on your right panel box. From the panel’s options, you can select the font, color, size, and more.
Make your text as you desire, and move them to the correct position inside the canvas.

Now we have to create our button. To do so, let’s draw a rectangle shape. On your vertical left toolbox, locate the “PEN TOOL”, press and hold your left mouse key, and select the “Rectangle Tool” from the small panel. Draw a shape inside your canvas. Then select the new shape using your “Selection Tool” and edit its color and border from the panels on your right side. Once finished resize and position your button to its correct and final position.
Next, we need to add content inside our button. To do so, create a new text box. Once you place and style your text, select both your button shape and text, right-click with your mouse, and select “Create Group”. Give your group a name and an ID (It’s important) and click ok. From now on, this component will act as one.
5. Animating (using Timeline)

Once we have all of our elements on screen, it’s time to create the timeline. Before we add any new key-frame, we need to hide the elements that we want to appear next. Think about it as a clip. Select one by one all the elements you want to show next and hide them by decreasing their opacity.
Now, from your timeline section on the center-bottom of your screen, add a new key frame. On that keyframe, select the elements you would like to show and increase their opacity to 1. If you want them to move from its previous position just drag and drop them to your desired position. Start adding more keyframes and move things around until you complete your animation.

6. FINALLY!!! Set Events and Action
The last thing we need to add is a link to our button. Select your button and right-click. Select the option “Add Events..” or you may add an event from your “Events Panel” and target it to your button’s id. Next, you need to select the trigger point on which the action will be initiated. For that purpose we need a click event, so navigate to “Mouse > Click”. Next, we need to identify the action, so select “Generic Ad > Exit Ad” further select the receiver, and complete the configuration form. That’s it! Now click on the “Preview” button and then Publish it by clicking the button!
to understand more about Events and action on Google web designer, check the video tutorial below.